Quick start, in six steps
Six examples in the repository build one application, one piece at a time. Run each with
cargo run --example quick_start_0N. This page explains what each step adds and why.
Step 0: the bare framework
use turbo_vision::prelude::*;

fn main() -> turbo_vision::core::error::Result<()> {
    let mut app = Application::new()?;
    app.run();
    Ok(())
}
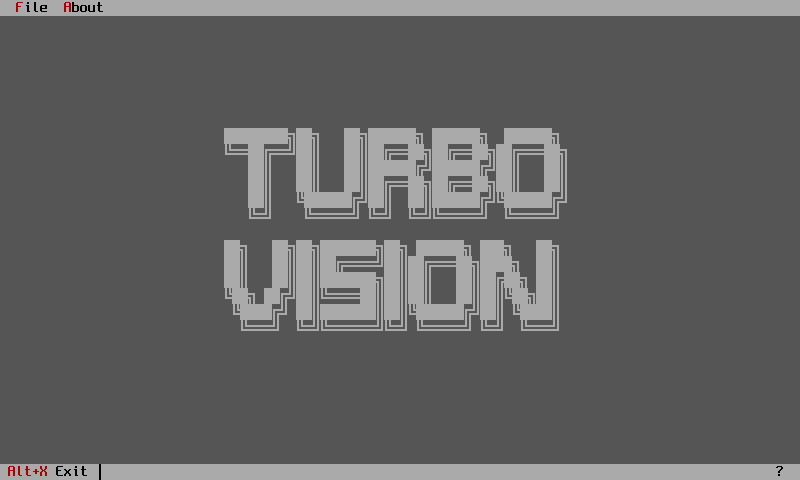
Four lines give you the blue desktop. Application::new takes the terminal into raw mode, hides
the cursor, installs the desktop view and returns an error if the terminal cannot be claimed.
run polls for events, dispatches them and redraws until something asks it to stop. Alt+X already
works, because CM_QUIT is handled by the loop itself.
This is Borland's TApplication with no initMenuBar and no initStatusLine override.
Step 1: a status line
The status line is a view, not a setting. You size it yourself against the terminal, fill it with items and hand it over.
let (w, h) = app.terminal.size();
let status_line = StatusLine::new(
    Rect::new(0, h as i16 - 1, w as i16, h as i16),
    vec![
        StatusItemBuilder::new()
            .text("~Alt-X~ Exit")
            .key("Alt+X")
            .command(CM_QUIT)
            .build(),
    ],
);
app.set_status_line(status_line);
Three things are worth noticing. The rectangle is the bottom row of the screen, and Rect::new
takes left, top, right and bottom, with the bottom exclusive. The tildes in the text mark the
highlighted portion, the same convention Borland used. The chord string "Alt+X" is parsed at
build time, and an unrecognised chord panics the first time the application runs.
Step 2: move the setup into a function
No new behaviour. This is the shape every later step follows, and it is the Rust answer to
Borland's static TStatusLine *initStatusLine(TRect r). The framework does not call your function
during construction, so there is no half-built object to be careful around. You build the view and
pass it in.
Step 3: a menu bar
let file_items = vec![
    MenuItemBuilder::new().text("~O~pen...").command(CM_OPEN).key("Ctrl+O").build(),
    MenuItem::separator(),
    MenuItemBuilder::new().text("E~x~it").command(CM_QUIT).key("Alt+X").build(),
];
let file_menu = SubMenu::new("~F~ile", Menu::from_items(file_items));

let mut menu_bar = MenuBar::new(Rect::new(0, 0, w as i16, 1));
menu_bar.add_submenu(file_menu);
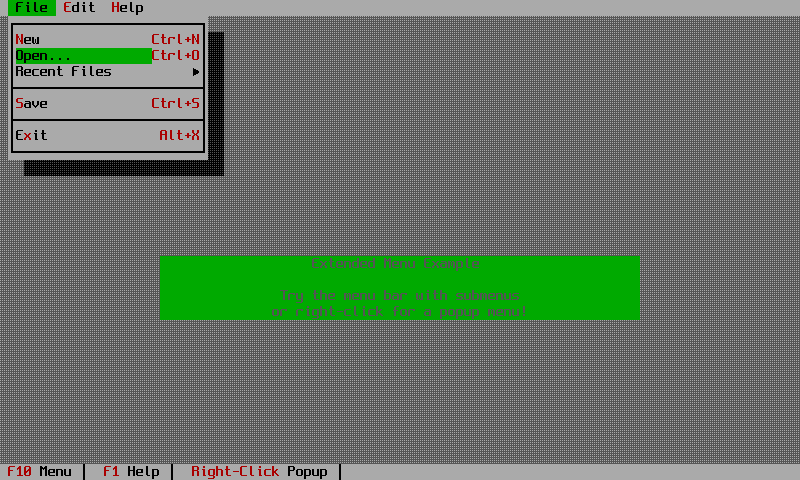
The menu bar occupies the top row. A SubMenu pairs a title with a Menu, and a Menu is a list
of items. Selecting an item does not call anything: it posts a command event. Nothing yet listens
for CM_OPEN, so choosing Open does nothing visible. That is the point of this step, and it is
exactly how the original framework behaved.
Custom commands are declared as constants. This example uses 100, but in 3.0.0 application
commands should start at CM_USER, which is 200; the range from 100 to 199 belongs to the library.
Step 4: commands that do something
fn handle_command(app: &mut Application, command: u16) {
    match command {
        CM_QUIT => app.running = false,
        CM_OPEN => { message_box_ok(app, "Open..."); }
        CMD_ABOUT => { message_box_ok(app, "About..."); }
        _ => {}
    }
}
The example writes its own loop so you can see the parts. In a real program, implement AppHandler
and call run_with, which gives you pre_event, handle_command, idle and window_closed
without copying the loop. The order in the hand-written version matters and is the same order the
built-in loop uses: global shortcuts first, then the menu bar, then the status line, then whatever
command survives.
Step 5: global shortcuts
fn handle_global_shortcuts(event: &mut Event) { /* translate KB_F1 into a command */ }
A key that must work regardless of what has focus is translated into a command before anything else
sees the event. This is TApplication::handleEvent running before the desktop, and it is what
AppHandler::pre_event is for.
What to read next
Chapter 2 of the user guide covers commands and the command set in full, including enabling and disabling items. Chapter 3 adds windows. When you want a dialog with real fields, go to the biorhythm tutorial.